SECTION 501-08: Exterior Trim and Ornamentation
| 2014 Flex Workshop Manual
|
REMOVAL AND INSTALLATION
| Procedure revision date: 05/02/2013
|

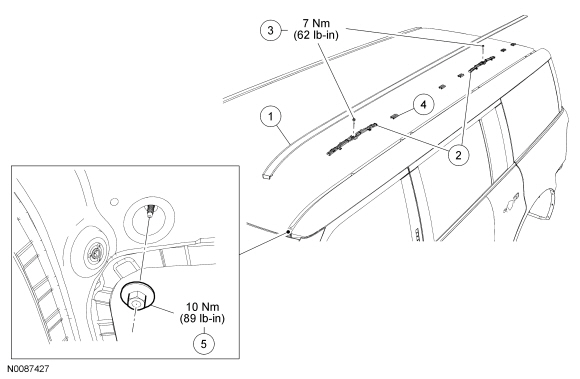
| Item | Part Number | Description |
|---|---|---|
| 1 | 51728 RH/ 51729 LH | Roof ditch moulding |
| 2 | 50002 | Roof ditch moulding mounting brackets |
| 3 | W713232 | Roof ditch moulding mounting bracket screws |
| 4 | — | Roof ditch moulding clip (part of 51729 LH/ 51728 RH) |
| 5 | N621926 | Roof ditch moulding nut |
Removal and Installation


NOTE: Using a non-marring tool, pry up from the outside of the roof ditch moulding towards the inside, to release the roof ditch moulding from the clips.
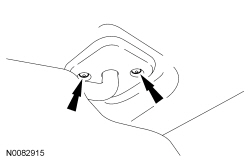
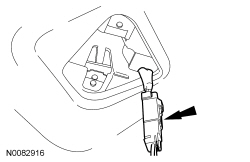
Remove the roof ditch moulding.