 WARNING: Wear protective gloves when handling components or parts that have pointed or sharp edges. Failure to follow this instruction may result in serious personal injury.
SECTION 501-10: Seating
| 2014 Flex Workshop Manual
|
REMOVAL AND INSTALLATION
| Procedure revision date: 05/02/2013
|
| Drill(s) |
| Item | Specification |
|---|---|
| Motorcraft® Threadlock and Sealer
TA-25 | WSK-M2G351-A5 |
Removal
 WARNING: Wear protective gloves when handling components or parts that have pointed or sharp edges. Failure to follow this instruction may result in serious personal injury.
NOTE: Typical driver seat shown, others similar.
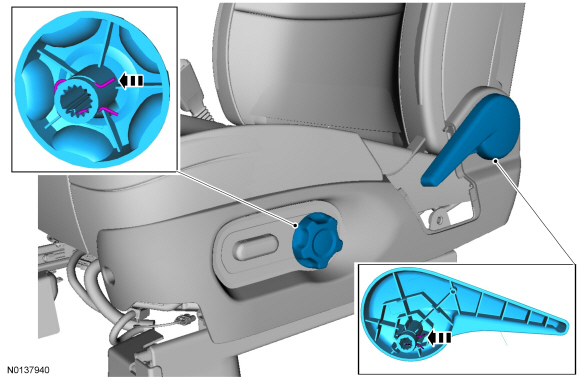
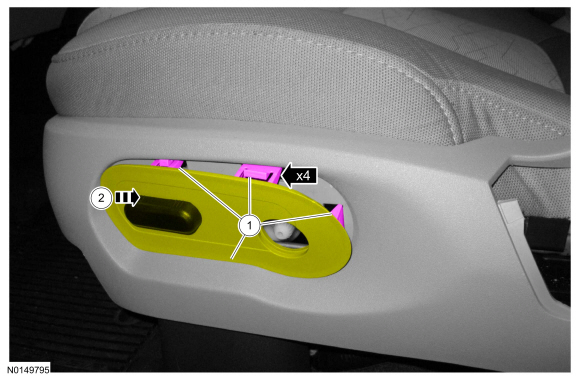
NOTICE: Do not pull out at the front of the seat control switch bezel, slide it rearward. Otherwise, seat control switch bezel retainers can break.
-
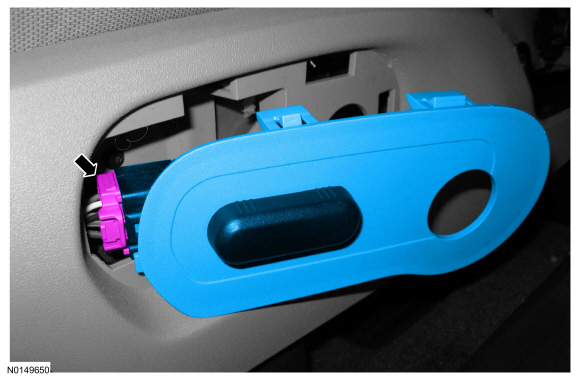
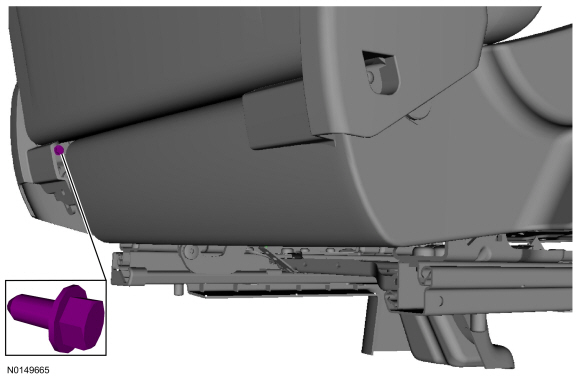
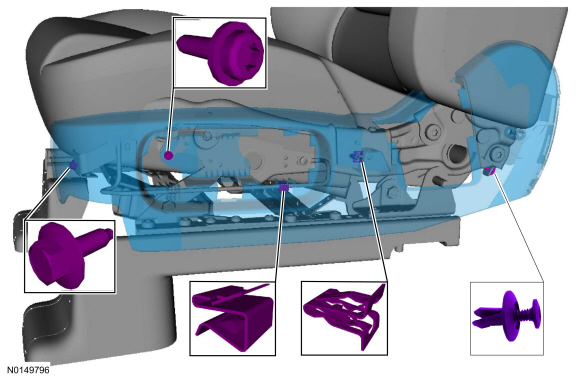
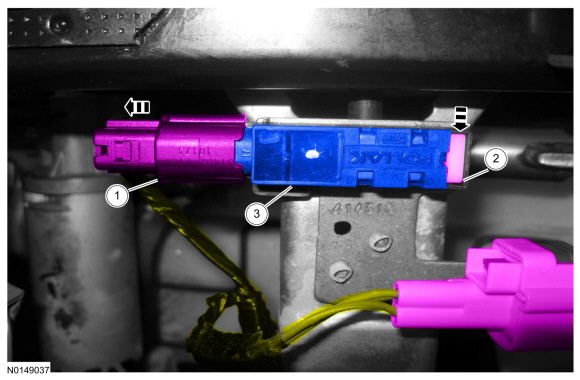
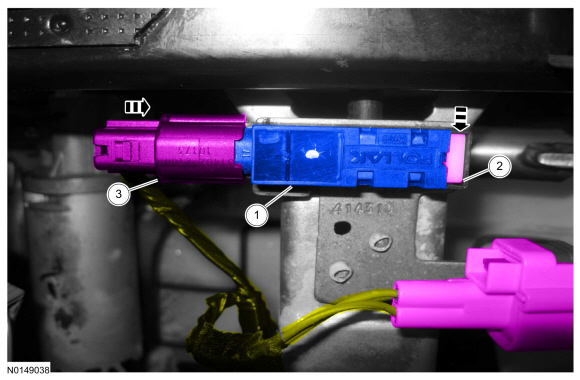
NOTE: Seat cushion wire harness take-outs will vary with seat option content. Note the wire harness routing, attachment points and connections to the horizontal seat motor and bracket for installation.
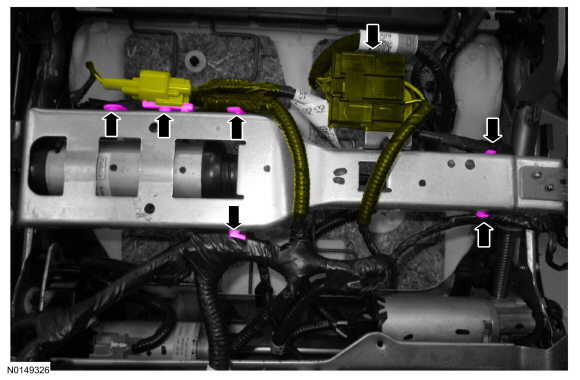
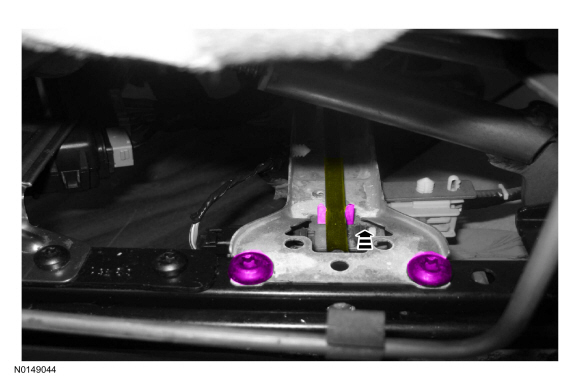
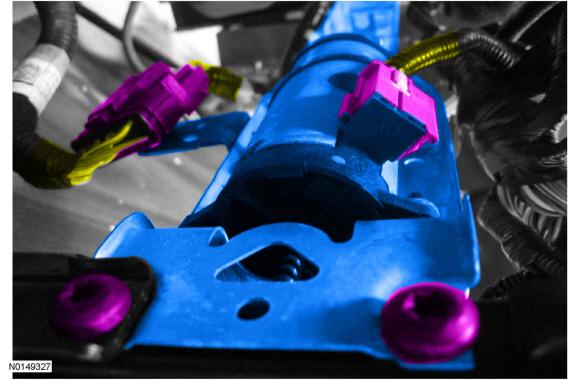
Installation
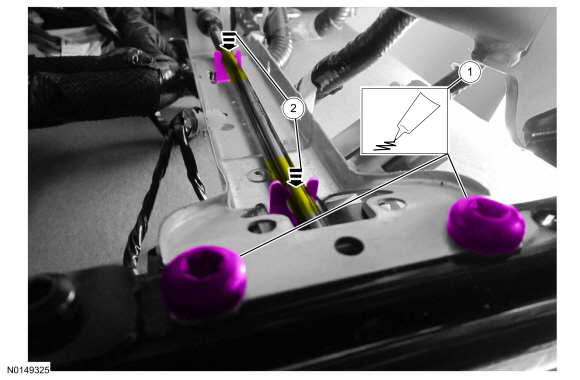
NOTE: Applying pressure to the lower seat track rail forward or backward can aid in bolt hole alignment.
On both sides.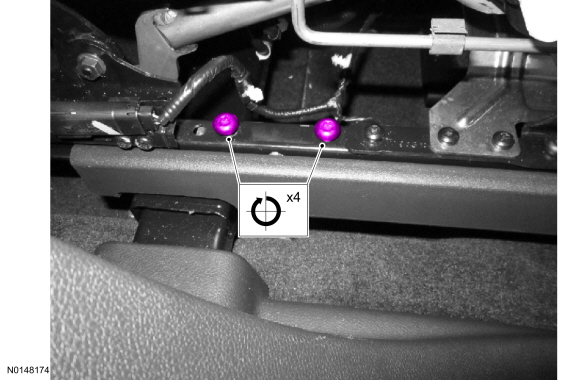
NOTICE: When using a drill to move the seat track, do not move the seat track to its forward or rearward end of travel stops. Doing so can result in damage to the seat track requiring its replacement.
NOTE: Be sure to drive the seat track evenly or the track will bind during movement.
NOTE: Rotate the cables using 2 drills operating at similar speeds to most efficiently position the seat track.
Align the seat track on both sides.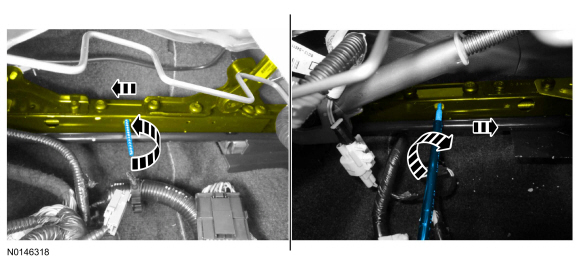
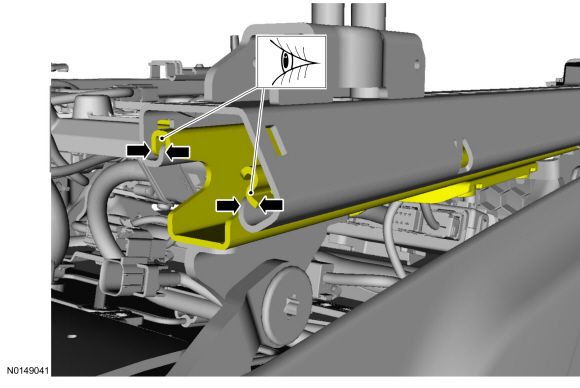
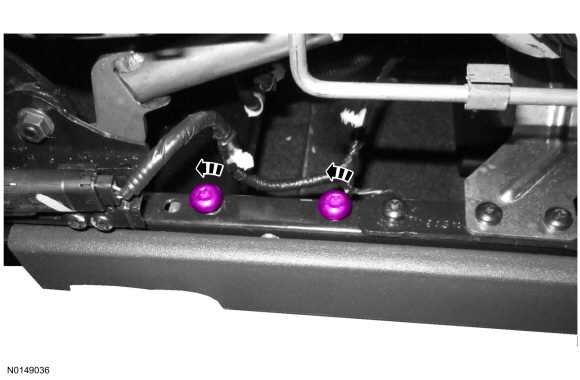
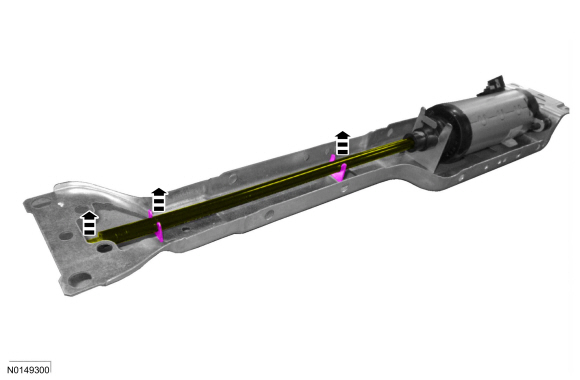
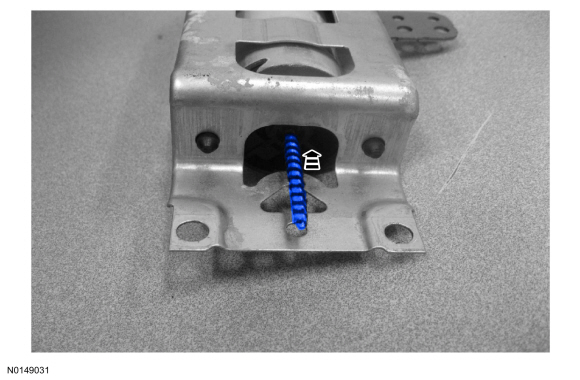
NOTE: Applying pressure to either the upper or lower seat track rail can aid in bolt hole alignment.
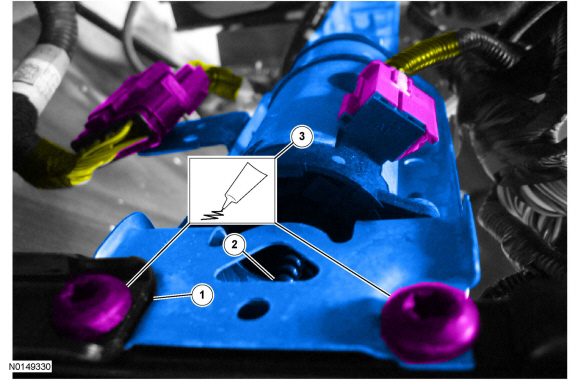
NOTE: The cable felt should not be visible when the cable is correctly engaged to the horizontal motor square drive.
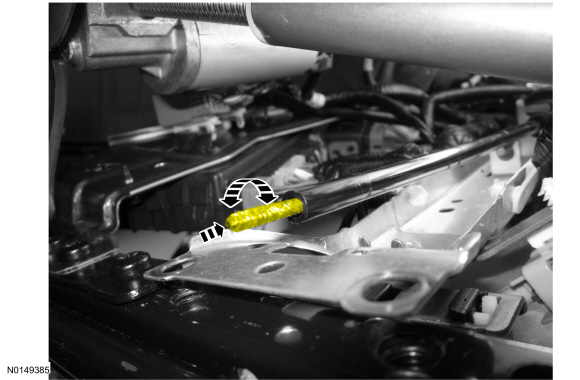
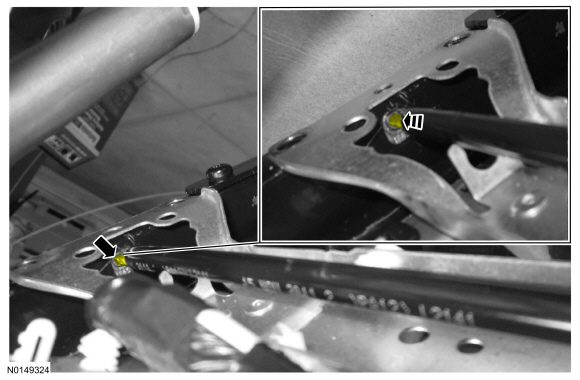
NOTE: Applying pressure to either the upper or lower seat track rail can aid in bolt hole alignment.
