SECTION 501-10: Seating
| 2014 Flex Workshop Manual
|
REMOVAL AND INSTALLATION
| Procedure revision date: 07/31/2013
|
Removal and Installation
NOTE: On the first press of the seat control switch after the seat is repaired and a new system component has been installed, the PFSM moves the seat to the home position (seat folded and latched to the floor) before continuing to move to the selected seat position. This allows the PFSM to relearn the position of the affected motors.
All seats

Seat with inoperable seat latch
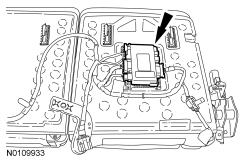
NOTE: RH seat shown, LH similar.
Push the cushion cover and foam pad back and locate the power seat latch by-pass cut-out in the bracket.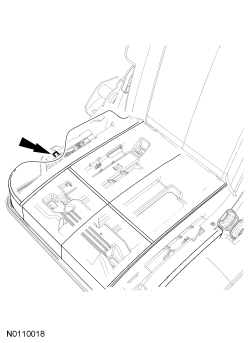
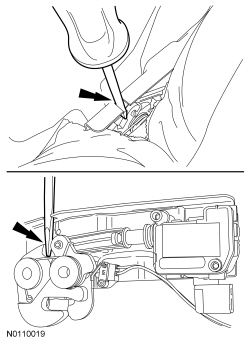
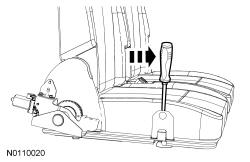
Seat with inoperable stow motor
NOTE: LH shown, RH similar.
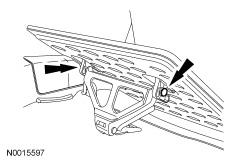
Pry to release the clips and remove the backrest latch outer cover.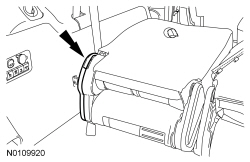
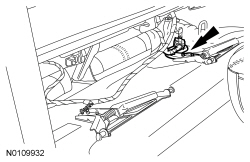
NOTICE: Make sure the wire harness is not damaged while positioning the release lever or the power-fold seat will not operate correctly.
NOTE: LH shown, RH similar.
Position the pivot release lever down and pivot the seat away from the floor striker.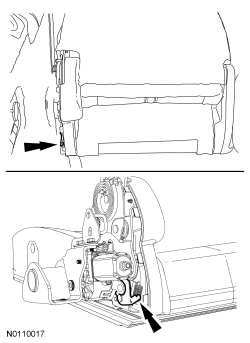
All seats
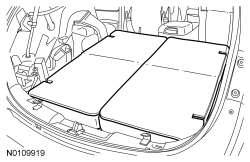
NOTICE: Do not lift the load floor flapper panel too far or damage to the wire harness retainers will occur.
Separate the LH load floor support from the load floor panel.