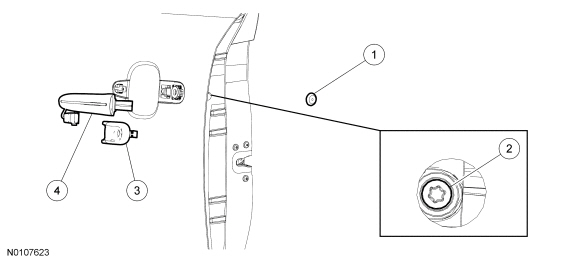
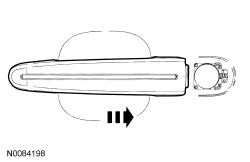
 WARNING: Disconnect the window regulator motor connector before working inside the vehicle doors. Service actions inside the door (such as door latch, handle or lock cylinder service) or operating the remote keyless entry (RKE) fob may activate the windows on vehicles equipped with global open/close. Serious injury to hands or arms may occur if a window motor is activated during service. Failure to follow these instructions may result in serious personal injury.

