SECTION 309-00: Exhaust System
2014 Flex Workshop Manual
REMOVAL AND INSTALLATION
Procedure revision date: 05/02/2013

Catalytic Converter — LH, 3.5L GTDI

Removal

NOTE: Always install new fasteners and gaskets. Clean flange faces prior to new gasket installation to make sure of correct sealing.

  1. With the vehicle in NEUTRAL, position it on a hoist. For additional information, REFER to Section 100-02 .
  1. Remove the LH HO2S . For additional information, REFER to Section 303-14 .
  1. Remove the LH exhaust flexible pipe. For additional information, refer to Exhaust Flexible Pipe — LH, 3.5L GTDI in this section.
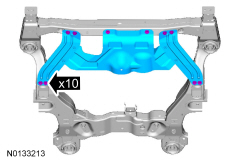
  1. If equipped, remove the 10 retainers and the skid plate.
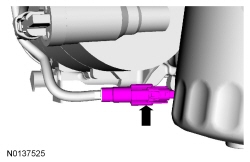
  1. Disconnect the LH CMS electrical connector.
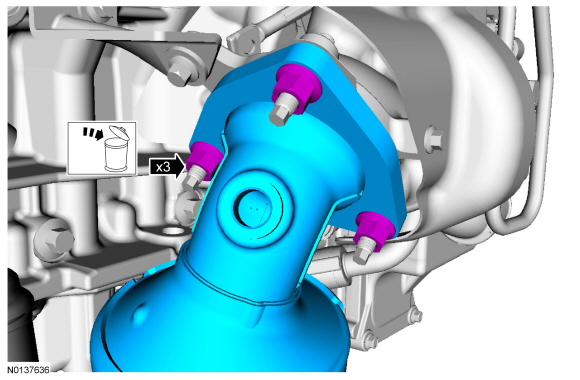
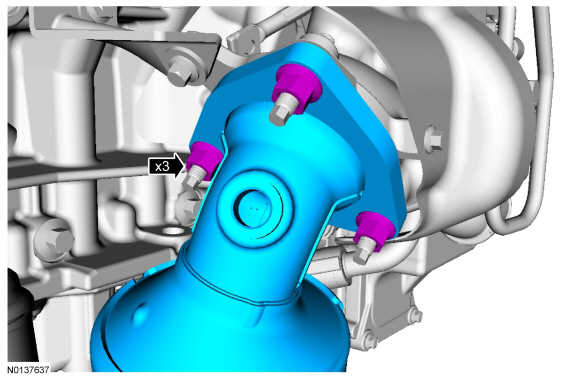
  1. Remove the 3 LH catalytic converter-to-turbocharger nuts and the catalytic converter.

Installation

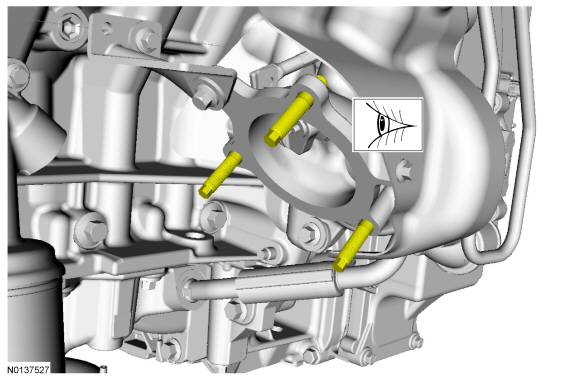
  1. Inspect the LH turbocharger-to-catalytic converter studs for damage.
  1. NOTICE: Failure to tighten the LH catalytic converter manifold-to-turbocharger nuts to specification a second time will cause the LH catalytic converter manifold-to-turbocharger to develop an exhaust leak.

    Using a new gasket and 3 new nuts, install the LH catalytic converter manifold to the turbocharger. Tighten the LH catalytic converter manifold in 2 stages.
  1. Connect the LH CMS electrical connector.
  1. If equipped, install the skid plate and the 10 retainers.
  1. Install the LH exhaust flexible pipe. For additional information, refer to Exhaust Flexible Pipe — LH, 3.5L GTDI in this section.
  1. Install the LH HO2S . For additional information, REFER to Section 303-14 .