SECTION 309-00: Exhaust System
2014 Flex Workshop Manual
REMOVAL AND INSTALLATION
Procedure revision date: 05/02/2013

Catalytic Converter — RH, 3.5L GTDI

Removal

NOTE: Always install new fasteners and gaskets. Clean flange faces prior to new gasket installation to make sure of correct sealing.

  1. With the vehicle in NEUTRAL, position it on a hoist. For additional information, REFER to Section 100-02 .
  1. Remove the RH front wheel and tire. For additional information, REFER to Section 204-04 .
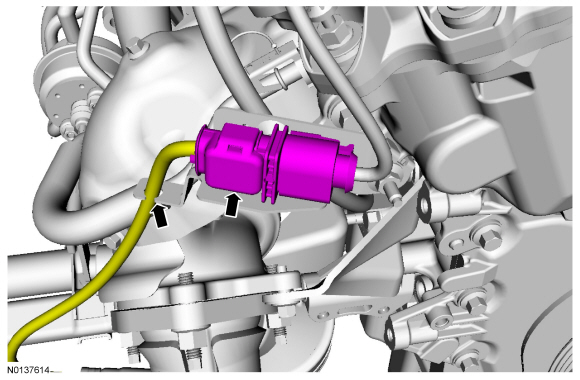
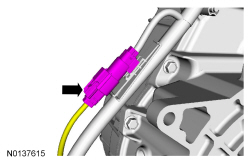
  1. Disconnect the RH HO2S electrical connector.
  1. Remove the LH and RH exhaust flexible pipes. For additional information, refer to Exhaust Flexible Pipe — LH, 3.5L GTDI and Exhaust Flexible Pipe — RH, 3.5L GTDI in this section.
  1. Disconnect the RH CMS electrical connector.
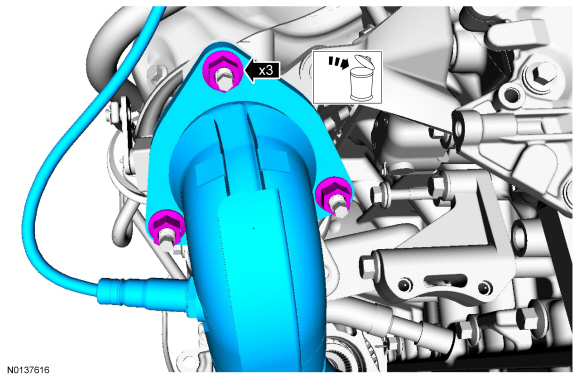
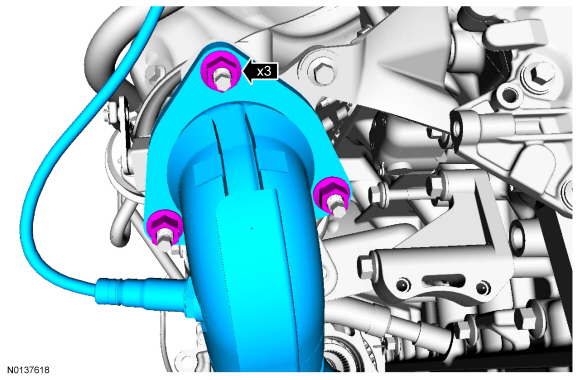
  1. Remove the 3 RH catalytic converter-to-turbocharger nuts and the converter.

Installation

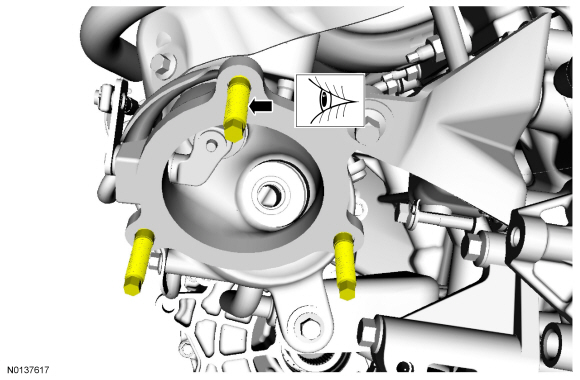
  1. Inspect the RH turbocharger-to-catalytic converter studs for damage.
  1. NOTICE: Failure to tighten the RH catalytic converter manifold-to-turbocharger nuts to specification a second time will cause the RH catalytic converter manifold-to-turbocharger to develop an exhaust leak.

    NOTICE: Prior to installation, inspect the HO2S and the CMS wiring harness for damage.

    Using a new gasket and 3 new nuts, install the RH catalytic converter manifold to the turbocharger. Tighten the RH catalytic converter manifold in 2 stages.
  1. Connect the RH CMS electrical connector.
  1. Install the LH and RH exhaust flexible pipes. For additional information, refer to Exhaust Flexible Pipe — LH, 3.5L GTDI and Exhaust Flexible Pipe — RH, 3.5L GTDI in this section.
  1. Connect the RH HO2S electrical connector.
  1. Install the RH front wheel and tire. For additional information, REFER to Section 204-04 .