SECTION 501-05: Interior Trim and Ornamentation
2014 Flex Workshop Manual
REMOVAL AND INSTALLATION
Procedure revision date: 05/02/2013

Sunshade — Roof, Rear

Removal and Installation


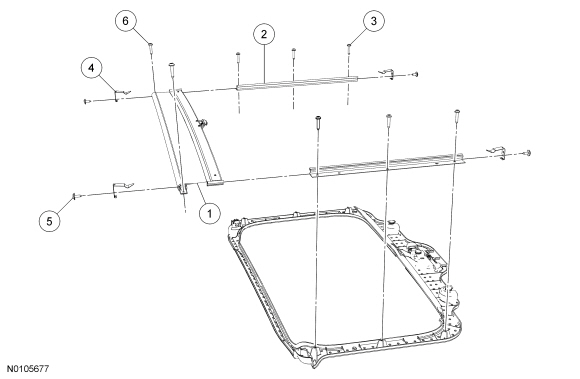
Item Part Number Description
1 74519A02 Sunshade assembly
2 74502C10B Sunshade track (2 required per side)
3 W506946 Sunshade track-to-headliner retaining screw (6 required per side)
4 Sunshade stop (part of 74519A02) (4 required per shade)
5 Sunshade stop-to-track retaining screw (part of 74519A02) (4 required per shade)
6 W506946 Sunshade-to-headliner retaining screw (2 required)

Sunshade and sunshade tracks

NOTE: It is not necessary to remove the headliner from the vehicle. Steps 1 through 28 are only for lowering the headliner.

  1. Remove the A-pillar trim panels. For additional information, refer to A-Pillar Trim Panel in this section.
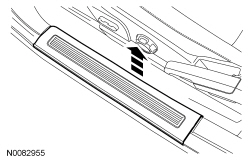
  1. Remove the front door scuff plates.
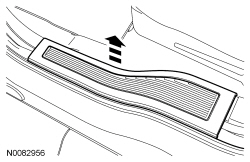
  1. Remove the rear door scuff plates.
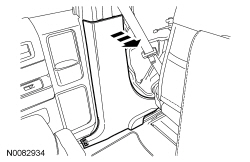
  1. Remove the lower B-pillar trim panel. For additional information, refer to B-Pillar Trim Panel in this section.
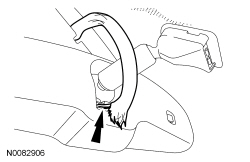
  1. NOTE: Inspect the safety belt D-ring cover for damage. If the safety belt D-ring cover does not remain in place, install a new cover.

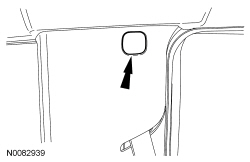
    Remove the safety belt D-ring cover.
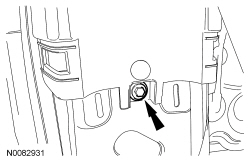
  1. Remove the safety belt D-ring bolt.
  1. Remove the upper B-pillar trim panel bolt and reposition the upper B-pillar trim panel aside.
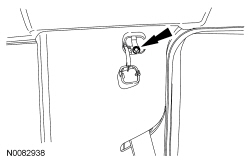
  1. Remove the upper C-pillar trim panel bolt cover.
  1. Remove the upper C-pillar trim panel bolt.
  1. Pull outward to release the C-pillar trim panel clips.
  1. Reposition the C-pillar trim panel aside.
  1. Remove the D-pillar trim panels. For additional information, refer to D-Pillar Trim Panel in this section.
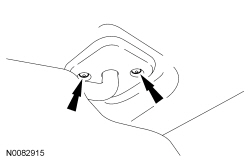
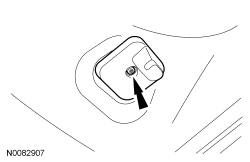
  1. Remove the sun visor retainer screws and lower the sun visors.
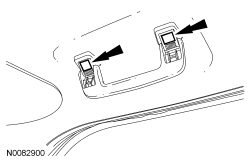
  1. Remove the sun visor clip retainer screws and remove the sun visor clips.
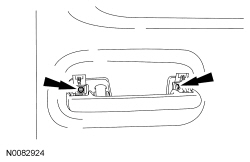
  1. Open the assist handle screw covers.
  1. Remove the assist handle screws and remove the assist handles.
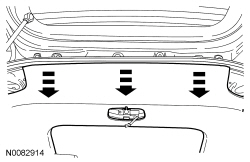
  1. Pull downward on the sunshade frame at the rear of the back window opening panel to release the sunshade frame pin-type retainers.
  1. Pull downward to release the rear headliner pin-type retainers.
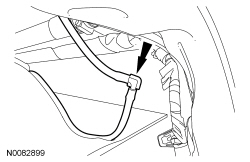
  1. Disconnect the rear wiper washer hose.
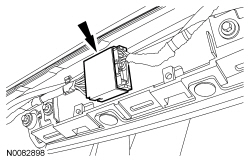
  1. Disconnect the rear headliner electrical connector.
  1. Disconnect the front headliner electrical connector.
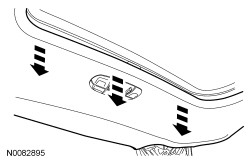
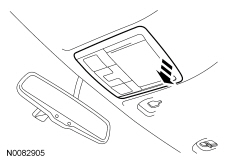
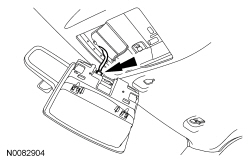
  1. Pull downward on the overhead console to release the retainer clips.
  1. Disconnect the overhead console electrical connector.
  1. Disconnect the mirror electrical connector.
  1. Position the front and rear seat so that the seat will support the headliner when lowered.
  1. Position the front and rear door opening weatherstrips aside.
  1. Lower the headliner.
  1. Remove the 2 sunshade-to-headliner retaining screws.
  1. Remove the 6 sunshade track-to-headliner retaining screws.
  1. Remove the sunshade assembly from the headliner.
  1. Remove the 2 sunshade stop-to-track retaining screws and the stops that are the located at the closest point to the sunshade on the track.
  1. Slide the sunshade off the sunshade tracks.

Sunshade tracks

  1. Remove the 2 remaining sunshade stop-to-track retaining screws and the stops that are located at the opposite end of the tracks.
  1. Install the 2 front sunshade stops and retaining screws onto the new tracks.

Sunshade

  1. To install, reverse the removal procedure.