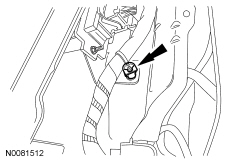
SECTION 501-12: Instrument Panel and Console
| 2014 Flex Workshop Manual
|
REMOVAL AND INSTALLATION
| Procedure revision date: 05/02/2013
|
Removal

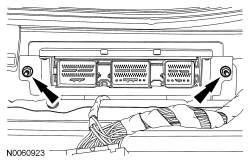
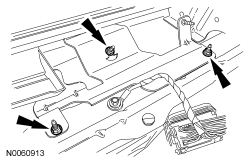
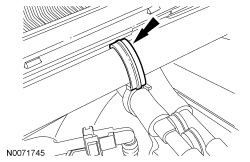
NOTE: LH side shown, RH side similar.
Remove the strut tower cross brace.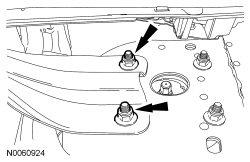
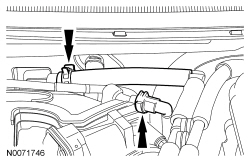
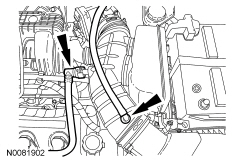
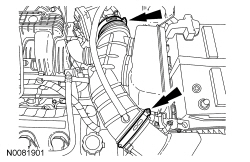
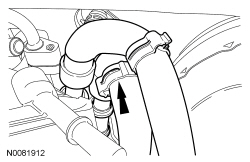
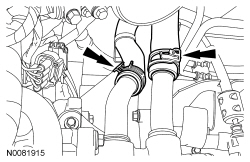
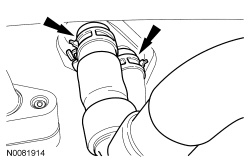
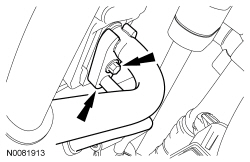
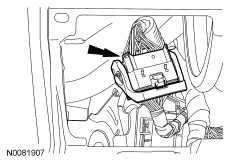
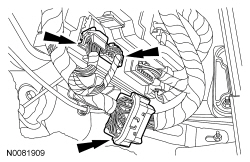

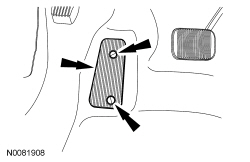
NOTICE: To avoid damaging the carpet with coolant when the instrument panel is removed, the carpet must be removed.
Remove the LH and RH front carpet sections.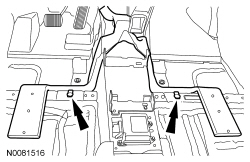
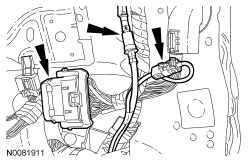
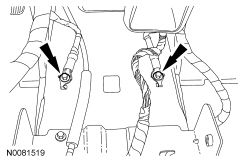
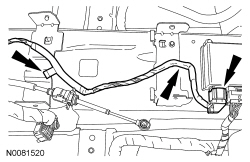
NOTE: An assistant is required when carrying out this step.
NOTE: Remove the bolts from one side of the in-vehicle cross beam and support the in-vehicle cross beam before removing the bolts from the opposite side.
Remove the 3 LH and 3 RH instrument panel side bolts.NOTICE: To avoid damaging the RH front door trim panel when removing the in-vehicle cross beam from the vehicle, an assistant is required when carrying out this step.
NOTICE: Make sure that all electrical connectors and wiring are not hindered before removing the in-vehicle cross beam or damage to the components may occur.
Remove the in-vehicle cross beam from the vehicle.Installation
NOTICE: To avoid damaging the RH door trim panel when installing the in-vehicle cross beam into the vehicle, an assistant is required when carrying out this step.
NOTICE: Make sure that all electrical connectors and wiring are correctly routed when installing the in-vehicle cross beam or damage to the components may occur.
Install the in-vehicle cross beam into the vehicle.


NOTE: LH side shown, RH side similar.
Install the LH and RH strut upper mount nuts.
