SECTION 211-04: Steering Column
| 2014 Flex Workshop Manual
|
REMOVAL AND INSTALLATION
| Procedure revision date: 05/02/2013
|
Removal and Installation
NOTICE: Do not allow the steering wheel to rotate while the steering column shaft is disconnected or damage to the clockspring may result. If there is evidence that the steering wheel has rotated, the clockspring must be removed and recentered. Refer to Section 501-20B .
NOTE: Removal steps in this procedure may contain installation details.
All vehicles
Vehicles with manual steering column
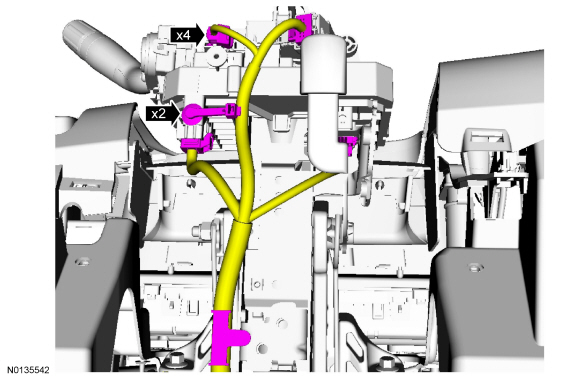
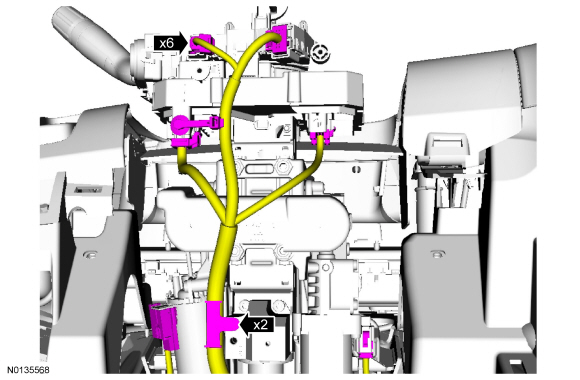
NOTICE: When installing, make sure the electrical wiring harness is routed correctly and secured to the steering column or damage to the wires and/or connectors may occur.

Vehicles with power steering column
NOTICE: When installing, make sure the electrical wiring harness is routed correctly and secured to the steering column or damage to the wires and/or connectors may occur.

All vehicles
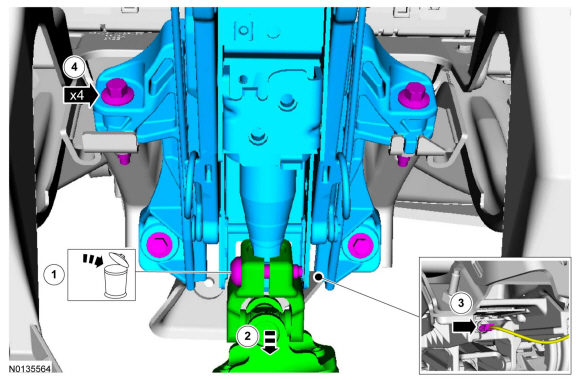
 WARNING: Do not reuse steering column shaft bolts. This may result in fastener failure and steering column shaft detachment or loss of steering control. Failure to follow this instruction may result in serious injury to vehicle occupant(s).
NOTE: Manual steering column shown, power steering column similar.
NOTE: The deployable steering column electrical connector retaining tabs are not easily accessible. Using an inspection mirror and needle-nose pliers, or an equivalent tool, may help in viewing and releasing the electrical connector locking tabs.
-